Showing posts with label interior. Show all posts

Saturday, June 22, 2013

Really, She's Done!

So, I might have been a tad bit ahead of myself in declaring that she was done yesterday.  I had one last job to do; test the trailer wiring on the tow vehicle.  I had tested it before completely finishing the cabin shelf area, but not on the actual tow vehicle.  Of course, there was a problem.  Isn't there always?  I could not get the left tail light to light up.  I tested every connection that was 'visible.'  It turned out to be one that was under the shelf.  Again, good thing I made the shelf (which was covered in insulation and cedar) removable.


Removing the two panels was refreshingly easy; you never know how well things like that will work out.  In this one case, it worked as designed!

I just set the two pieces aside while I worked on the wiring.


Finally, after buying a new wire harness to 'tap' into my existing wires, I finally got it all to work.  One of my connections under the shelf had come loose.  Everything is tight and well taped.  Hopefully I'll not have a problem in a long time.  I did put electrical repair supplies in one of the 'tool boxes' in the floor storage.


The Carpe Diem with her tow vehicle.


Having the basket bolted to the tongue provided me with a rigid hand hold as I moved the teardrop to the tow dolly.  I took her on a victory lap around the block.  Ended up meeting a fella around the corner who also has a 1947 travel trailer; his is a 'Standy.'  He thought when he bought it that it would fit in his garage to let him work on it, but it didn't, so he's slowly working on it in his back yard.  Funny how folks looked at me; not sure what it is.  Can't wait to see the looks we get when we taker her on the road!

Monday, June 17, 2013

Hot Day!

The temperature outside the teardrop on the patio was 102 degrees (in the shade) and the temperature inside the teardrop was 97 degrees.  I really don't like hot weather; especially when I want to work outside.  I cannot imagine how the guys who work on the roof or on the roads do it.  I took lots of breaks, drank lots of cold water, and moved my zero gravity chair into the garage to cool down.

Not a lot of photos to document my work today.  


I made the hardware for the window curtain rods and painted them glossy black.


I carved the foam pieces for the bulkhead.  Covered them in foam and then installed them.  Turns out the glue (PL 300) did not work well on the insulation (1/2") that I used on the bulkhead.  I didn't think that very thin plastic layer on top of the insulation would be a problem, but the glue only 'stuck' to it, not the actual insulation.  So, I needed to pull out four of the strips of cedar and re-glue them.  I ended up using Gorilla Glue.  I also used a little bit of it on the foam covered pieces along the wall of the bulkhead.


Used the marine grade contact cement and clamps to glue the foam door panels to the door.  They turned out fantastically!


Very carefully created a pattern for the cut out for the mattress.


Traced the pattern onto the foam mattress.  Used a $14 electric knife to cut the two small wheel well sections out; ended up with two really nice pieces of foam that I may turn into a back rest or possibly a couple of pillows for the teardrop.  Couldn't believe how easily I could cut the foam.  Two minutes and it was done.  The mattress pads fit right over the cut outs; we may not even need to customize the covers. 

Not quite as productive a day as I would have liked, but all in all it was successful.  Tomorrow is the day to start working on polishing the body.  Not sure what new experiences that will bring for me!


Sunday, June 16, 2013

Razor Knife Two; Fingers Zero!

Father's Day! 


Slept in.  Got a new French Press coffee maker!  Already an awesome day!  


Started applying the contact cement to the headliner material.


Second door is perfect!  Ready to have Grace do her thing!  This is a really good shot of the molding glued into place.  Bracing it overnight fixed it right up.


Look at how nice that trim looks above the door!


Here's where the title of today's blog post comes from.  My razor knife is quite sharp.  So sharp that when I was slicing through the foam, I took the end of my pointer finger off.  It didn't hurt; sign of a sharp blade.  A bit later I sliced through the fabric and took out my middle knuckle.


Two bandages; one hand.


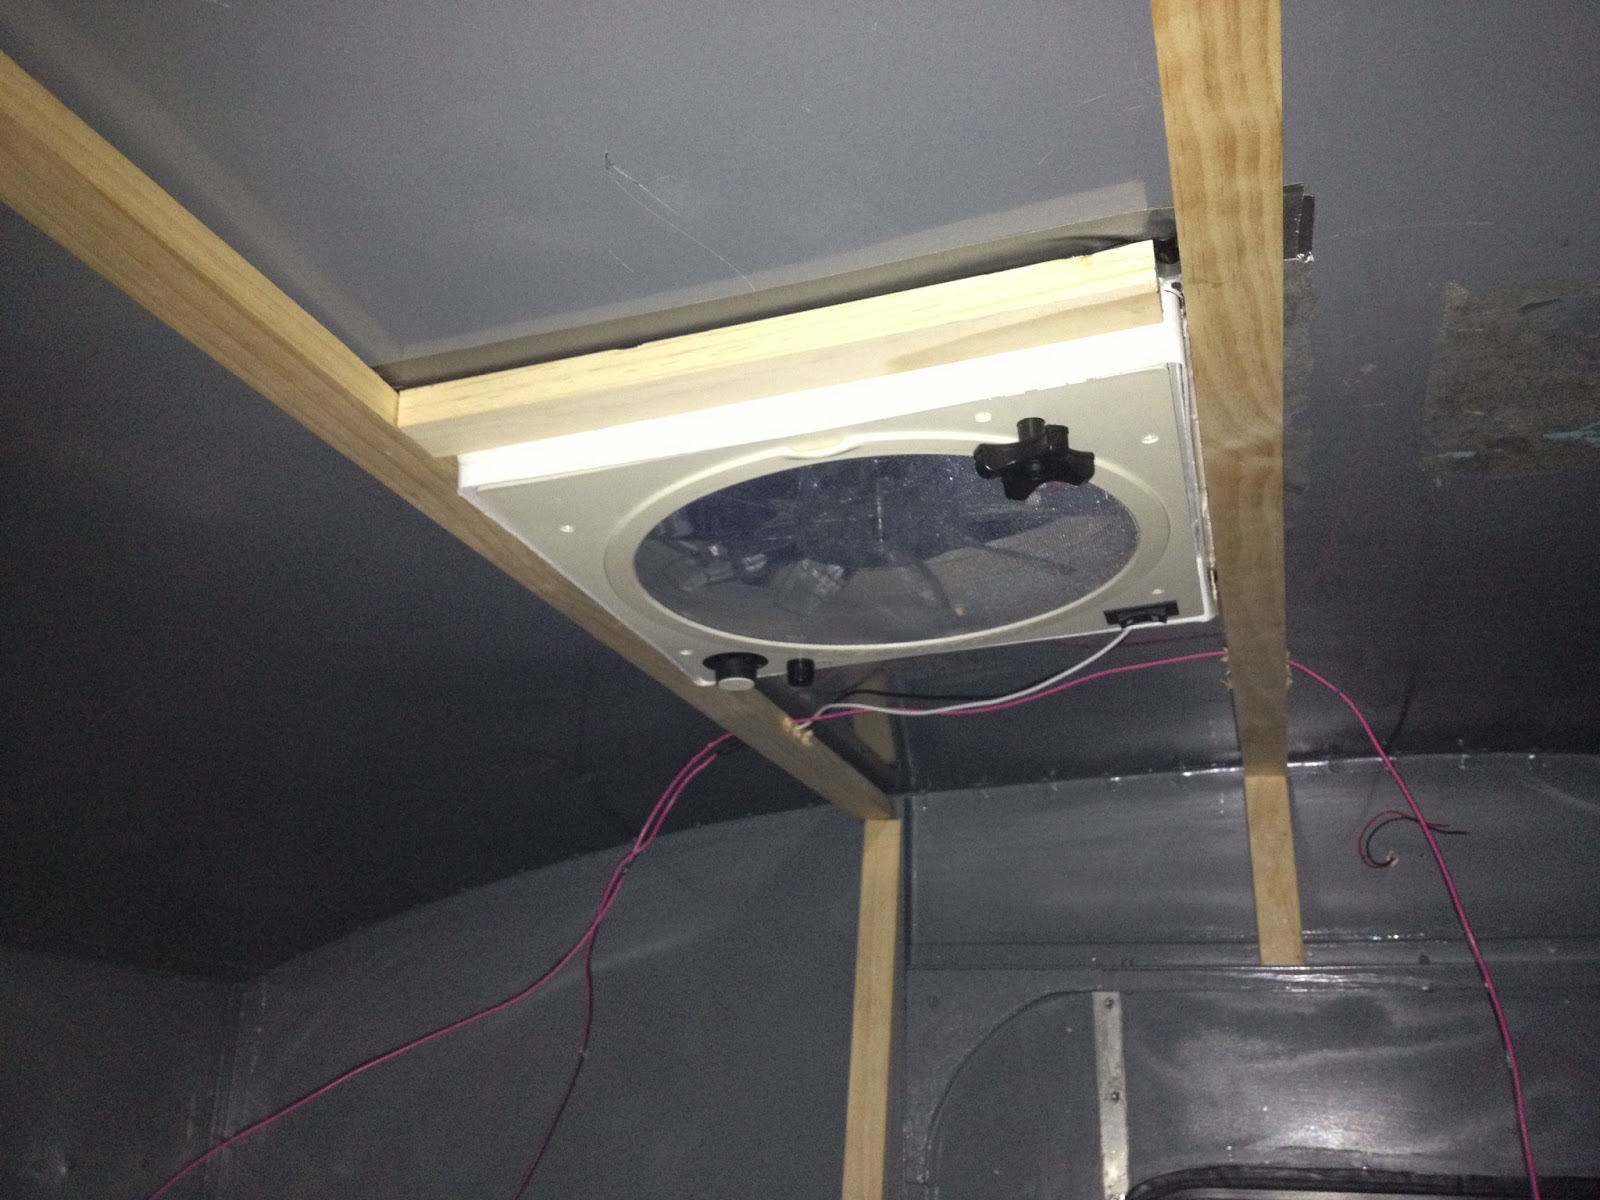
Got Jack to help sweep out the floor and sand and clean the excess glue off of the bulkhead.


My assistant Grace covering the second door!


The wood base under the doors is not bolted fully to the frame; long story.  I've tried jacking up the floor and bolting it together; it just pulls away when the pressure is off.  So, I've caulked, applied backer rod and then added a slice of insulation over it (see next pic) to keep all water out.


I think this is a good way to ensure that no water, ever comes up through this small seam.  The caulk, backer rod, more caulk and then the insulation strip should hopefully provide the seal I need.  Also, the mattress will compress this seal and further protect the area.


Here is the 'finished' door.  It looks pretty good, but I have to admit that I am not 'thrilled' with the imperfections I can see along the area where the window cut out is.  So, I decided to call upon my trusty garage door bottom insulation:


It's pliable, rubber, and I have 16' of it.  


After carefully gluing and using straight pins to hold it in place, I think the nearly finished product, that you can see above, looks pretty darn nice.  I also added a couple of strips over the hinges, just for looks.  I may do the same thing on the inside.

Both windows drying in the sun.  

Grace needed to get some things at the fabric store, so I tagged along.  I had, as I mentioned in yesterday's post, figured out a solution to the curtain dilemma.  So, I decided to go ahead and purchase some fabric to make the curtains.  We decided on a polka dot material, because my wife loves them.  The main color is orange with a cream field.  Can't wait to design some curtains and have my incredibly talented daughter sew them for me.


After an amazing dinner at Red Lobster, I came home to find my door panels all ready to install.  Don't they look awesome?  I am SO happy with how they look.  I am feeling incredibly pleased with the finished product of the Carpe Diem's inside.  With all of the improvements, I don't know that I could have 'built' one from scratch that would have been better!  As a guy who takes a lot of pride in his work, that's saying an awful lot!

Tomorrow:  tiny finish details in the bulkhead and a few small trim pieces to install in the shelving and bulkhead compartments.  Then, it's off to Harbor Freight to buy a 7" variable speed 'grinder' to begin the process of polishing this baby back to its original beauty on the outside!

Friday, June 14, 2013

Friday Finesse and Fun!

At the risk of sounding incredibly repetitive, today was an amazingly beautiful day!  70 degrees and sunny.  My perfect weather kind of day!  The Carpe Diem is really coming along and today, as the title says, was a day of finesse and fun.

Started out enjoying my cold water by using my newly installed cup holders!  I love the cedar accent I was able to create yesterday.  


I had originally planned to make a false bottom on the shelf area to hide all my electrical lines.  Turns out I didn't need to do that; I bundled all the wires up and tucked them under the insulation on the far right side.  However, you never want to 'paint yourself into a corner' so to say.  So, I decided to make the back wall panel 'removable.'  It won't be easy, but it is possible to take out the back wall panel, simply by pulling on the top board.  Essentially, I just glued the cedar strips to the insulation.  Then I tacked a cover strip of wood at the top to 'join' the roof and the back wall.  If I ever need to get to it, I can!  This, by the way, was how it looked when I started adding the cedar strips.


All the cedar strips are in place.  Also, take a look at the Fantastic Fan.  I installed the fascia around the fan.  It pulled the roof together so nicely I think.


Bracing in place.  I found using sections of plywood to distribute the force and pieces of PVC pipe cut to length and then smooshed against a small piece of insulation makes very secure bracing.  Notice those cool new drink holders in fold up position!


Top piece in place and glue braced for overnight drying.  Notice the molding strip along the top of the roof over the doors.  More on that in the next photo.


Soaked the two molding strips that will go along the ceiling over the doors.  After soaking them, I braced them in their bended positions and will let them sit overnight.


Bulkhead doors removed.  I decided I would insulate the bulkhead with 1/2" insulation.  Half the thickness of the cabin due to the small area.  I think the insulation will help shield the cabin from the heat that is absorbed when the sun hits that front section.


Insulation loosely installed, waiting for glue and bracing.


One of many leg boo boos I have created by cutting insulation panels on my lap!


Cedar strips in place in the bulkhead.  I realized that the insulation can be used as an excellent brace by wedging it into place and using friction to press back against the surface being glued.

Okay, big task for tomorrow:  trim up the first door's insulation and headliner cover and cover the second door.  I'm hopeful my amazing daughter will help me with that.  If I have time, I may try cutting the mattress to the pattern of the floor.  Yikes.  I'm getting incredibly close to being done on the inside of the Carpe Diem.  That means I will be able to start on polishing the body soon!


Sunday, May 19, 2013

Frustration.


Today was less than excellent.  I met with a lot of frustration today.


It started out pretty good; I got my new fish eye lens for my iPhone and I had a lot of fun making interesting images with it.  Here you can see that I was filling the holes and then re-painting the drawers and the counter trip piece.


One of the only things that did go well today is that I was able to wire up the fuse panel and all of the electrical fixtures, even the galley light, worked perfectly.


This is 'mid-wiring.'  I like how the steel box worked out as a cover for the two 12 volt outlets.


I took the fish eye inside and I could finally capture how huge the teardrop is inside!  That was meant to be funny; but it really is pretty spacious.  Here you can see what it looks like when I am leaning up against the bulkhead; which is where you'll find me reading when it's raining out.


Here you can see the full span of the interior.  


About the only thing that did go well today was that I figured out how to get the wires from the marker lights and the LED lights on each corner, to the back of the teardrop.  I ended up being able to use the PVC pipe I had from another project.  I used insulated pipe clamps to anchor the pipe to the frame.  Pulling the wires through it was a cinch.

I need to figure out a water tight way of bringing in the marker lights and the LED leads.  I'm thinking of putting a piece of threaded conduit in the wheel well in such a way that no moisture will make its way into the electrical area.  I'm going to need to think about that some more.  

One reader, Emmett, noted that the floor is bare wood.  It's actually marine plywood that has been treated, but I am planning to take the teardrop to have an undercoating applied to it; or possibly do it myself once I compare costs.  I appreciate the head's up.  I had it on my radar, but sure do appreciate the reminder.  I'll remove the spare tire, etc. before the undercoating is applied.  

Thinking back on the day and realizing that what frustrated me so much was not having all the supplies I needed to do the job.  I had to go to the hardware store four times today for various bits and pieces.  That always frustrates me.  I also ran out of wire; another thing I obviously needed.  Oh well, this is a short week and a long weekend.  I'm hopeful that next weekend I'll be able to finish the electrical and begin insulating the cabin. 

Monday, May 13, 2013

Re-caulking, Gluing, Sealing, Screwing: Mind at Ease!

Ended up having an hour this evening to deal with my concerns about leaking. I was able to take off the wood strips I had screwed into the ceiling.  I caulked the area where the fan rests against the roof. Then I added butyl tape between the roof and the wood braces. I was able to remove the screws that had the heads broken off and put in new screws. The whole thing is drying right now. I feel much better about the fan now!


 Butyl tape and caulk applied.  Braces re-installed.


 The Fantastic Fan is now completely sealed!


Storage boxes caulked and sealed.

I also used some backer rod to cover some of my imperfections in the floor storage boxes. The  I re-caulked the gaps in the storage boxes. The last step will be to carpet the bottoms to give a little cushion and stop rattling when on the road.


 I was able to re-glue the dome light in place.  I couldn't get all the paint off the bottom of the foam, so I decided to 'over glue.'  I'm hopeful that it makes a clean seal.  I should add for those of you who are curious, I will be insulating the 'entire' ceiling with the same foam panels.  I only added these small sections because I needed to be able to work with the wires.  Eventually the entire teardrop will be insulated and covered with the headliner.


The last project I was able to finish tonight was to put the weather stripping on the door frame.  The weather stripping was exactly the right size and fit the groove where the door rests against the wood frame.


You can see how it fits snugly against the door frame.


If you look very carefully, you can see that I added a thin gray rubber seal to the door as well.  This is way more protection than the original design.  I'm hopeful that the two parts will fuse to the metal or wood and make a tight and waterproof seal.

Next job:  getting it out of the garage.  At least now I can put it out there and not be concerned about water getting in!  

Just forgot, I still need to seal the bulkhead floor.  I keep forgetting about that because it is hard to see.  I'll try to do that tomorrow evening.  Forgot another: I need to install the rubber membrane over the hinge on the hatch.  Hopefully I can find a really wide bike tube tonight.  One more thing I would like to try to accomplish before putting the drawers and cabinets in place:   I think it would be smart to hang the spare tire from the 'floor' of the galley area where the cooler 'side' will be.  I'll use rubber washers on the bolts to keep water from penetrating through the floor.  That way it is out of the way and fairly easy to access should I blow a tire and need to get it.  Of course, by planning ahead like that, you know that my first flat will be in the middle of a snow or rain storm!