The past couple of days have been a chance for me to take stock of where things stand with the teardrop. The first thing I did was clean the interior. I went through about 10 buckets of hot soapy water cleaning the aluminum. It was really dirty inside. However, there were no signs of critters living in the inside. The hatch had a boatload of caulking from various applications over the decades. I applied a chemical that broke down the bond of the caulk and helped it peel away.
The windows were a nightmare. The wood frames were rotten and the screen was completely rusted. (You can see the sagging seal and the rusted screen in the image below. ) The aluminum 'cover' of the window is supposed to be hinged. This one was completely missing, (we later found it in the cabin.) The one on the other side had been caulked in place. I removed all of the rotten seals as well. I took one window frame out and left one in for reference as I begin to rebuild the wooden frame. I will treat the 'new' frame with polyurethane to help it last a few more decades. I considered buying a plastic framed window, but unfortunately, they are a unique size and will probably need to be specially made. I have a window company that I would like to at least have an estimate from so that I can make an informed decision. If it's not too terribly expensive, I think it would be worth it to have a sliding screen window. I'd like to be able to have the light inside the cabin from windows.


Later today, I was able to remove all of the trim along the bottom of the trailer. I plan to replace this badly worn and broken trim with a slightly larger trim piece. I'm looking forward to learning how to use a rivet tool. It was a lot easier than I thought it would be to drill out the old rivets.
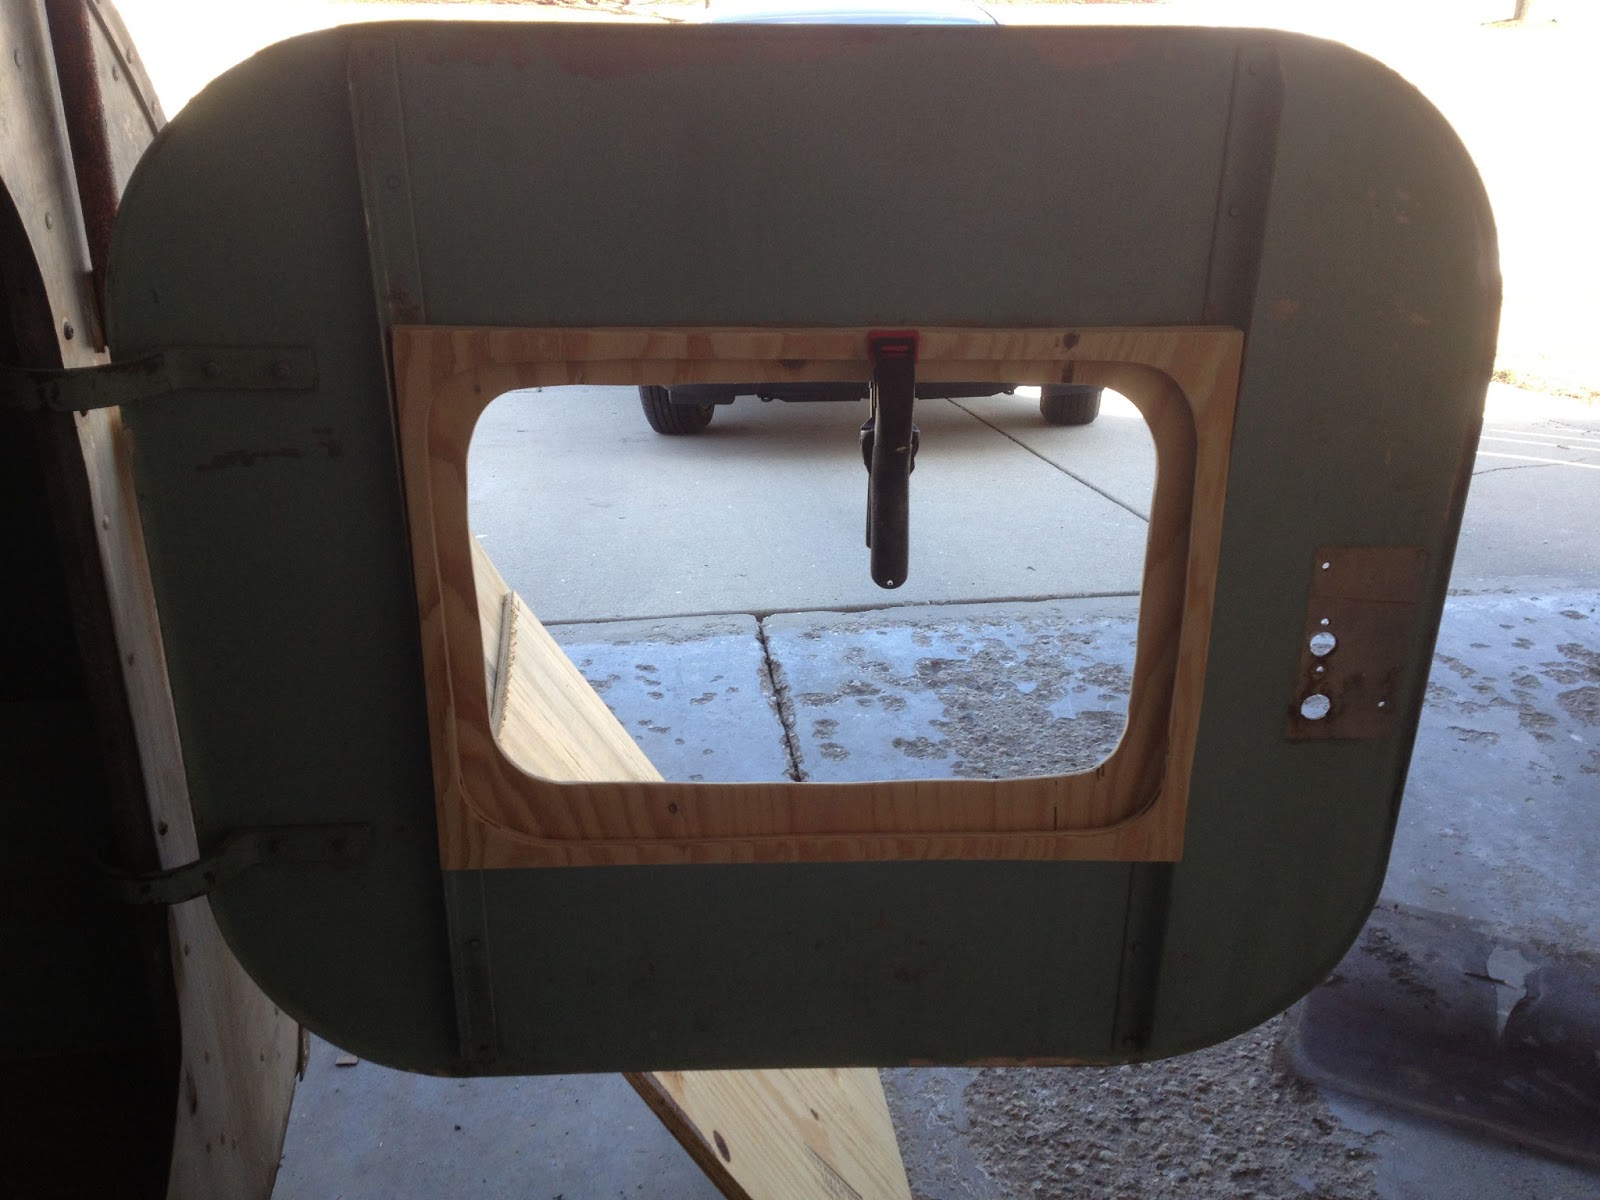
You can see in this picture the old wood frame and the larger wooden frame that is used to seat the door. I plan on rebuilding these pieces soon.
This is the naked door with all the wood and hardware removed.
You can see by my wooden mallet all of the hardware that I removed today. Each of those are going to be replaced by replica hardware that I've been able to find online. It's time to start shopping for all those replacement parts!