Showing posts with label wood. Show all posts

Saturday, April 6, 2013

Ripping Out the Galley

Today was a productive day!  I started by drilling out all the rivets on the hinge; all 60 of them!  This is what my drill bit looked like when I was done!  You can see the 'head's of the rivets on the drill bit.  The drill bit 'pops' off the rivet head and then you finish drilling it out to 'open' up the hole.


 Once the hinge was removed, I was able to take the hatch off.  Putting the hatch aside, I was then able to start drilling out the rivets that held the cabinetry in place.  I decided to take all the rivets out that were attached to the aluminum skin of the sides of the teardrop.


Then, I got Medieval on the cabinets.  My five pound sledge provided just the right amount of persuasion.  What needed additional persuasion was soon tamed by my reciprocating saws demolition blade. 

Thankfully, I managed to 'pop' a lot of the rivets and thus I didn't have to drill out all of the ones in the 'back' of the galley.


After deep cleaning the aluminum, I was able to spray the hatch and galley with the same paint as inside the cabin.

Hatch before:


Hatch After:


My wingman, Jim Tingey, came by today.  We spent most of our time talking through different design ideas.  I wanted to cover the front of the teardrop (the 2' above where the teardrop meets the frame) with diamond plate.  The reason for this would be to fix up some cosmetic concerns.  We figured out that the teardrop was installed on the present trailer frame and in doing so had to be retrofitted; hence the need to cover up some cosmetic issues.  The diamond plate was going to cost quite a bit; I had several estimates from local manufacturers and one from Pittsburgh, PA.  Jim's idea was to try something slightly out of the ordinary.  He suggested that I try looking at other materials; plastic or rubber.  I've contacted a good friend who's company makes just such a product.  Additionally, we talked about putting the battery on the trailer tongue.

After talking through a variety of designs and ideas, Jim suggested putting the battery, fuse box, etc. in the galley rather than putting it in a tongue box.  I had been looking at one of those cargo racks that you can use in combination with your tow hitch.  I saw some pictures online of a way to 'customize' a Harbor Freight rack to fit on the tongue of the trailer.


This would be an excellent way to have additional storage and maximize the aerodynamic boost of the design of the teardrop.  I put some of the most essential items in the newly painted galley and started working with some ideas.  Now, its time to study pictures of other people's galleys and begin designing my own.


While showing Jim the cabin, he wondered aloud if the 'shelf' could double as a bunk for my 11 year old.  We had him climb up into it and guess what?  He fits!  However, we'll end up adding some sort of storage cabinets there so the bunk idea is out of the question.  


We talked through adding insulation to the cabin and possibly a solution for how to add the same on the doors.  I'll probably end up adding the insulation and wood paneling to the doors in 'compartments,' rather than as one large piece.  It felt good to share ideas and solve some of the problems together.

My plans for tomorrow are to get the cabin water tight.  I am planning to remove the old caulk and install the bolts that hold the cabin to the plywood flooring.  After that, I'll put the other door on and install the weather stripping.  I may attempt to add the floor storage box tomorrow too.  My door and galley locks as well as the galley hinge will arrive next week.  I won't install them until after I have the window installation finalized.  I'm hanging on to the screen windows I've made until after I've decided if the sliding windows are going to meet my needs.


Friday, March 29, 2013

Making Windows

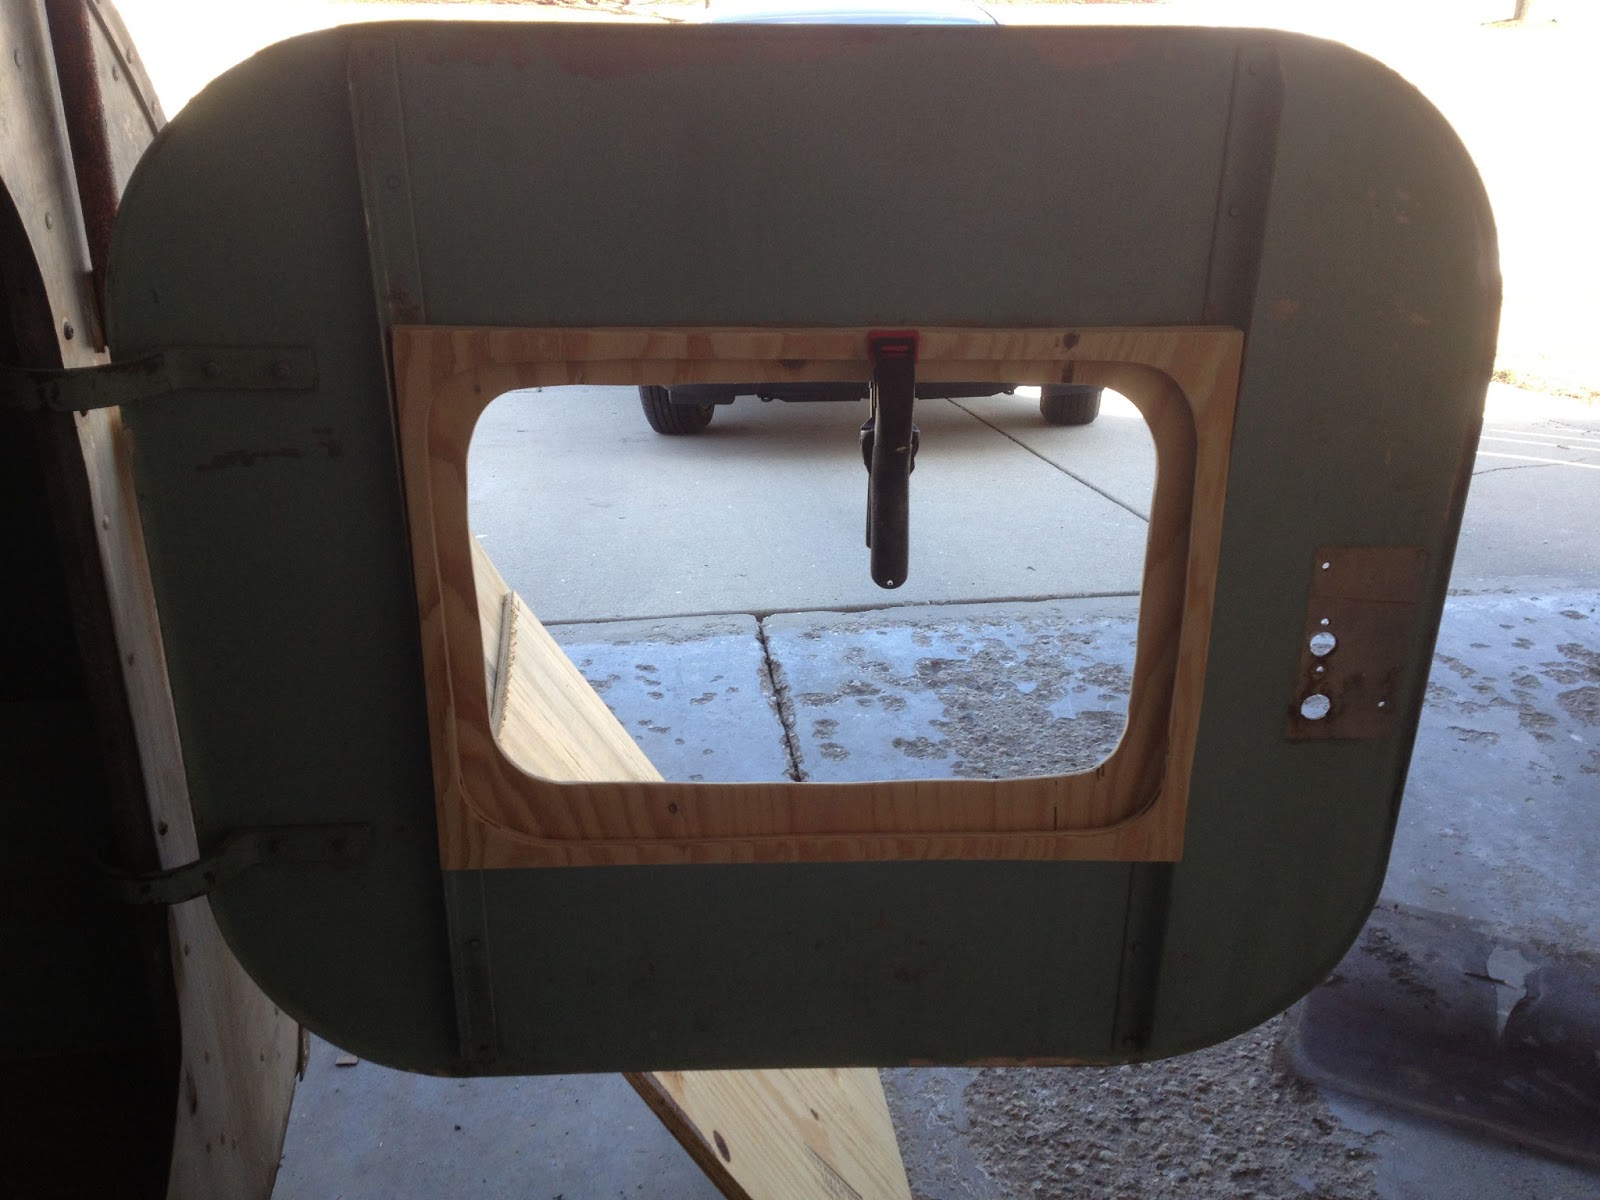
I'm amazed at how little I 'accomplished' today.  I have created wooden door and screen assemblies.  The hardest part was getting the plywood to not 'splinter' or fray.  I later realized that I needed a much 'finer' toothed blade.  Wish I had learned this before because it would have saved me a lot of time sanding.  The screen window is two parts.  One part is 1/2" plywood and the other is 1/4".  I have to give myself credit for keeping one assembly in place so that as I worked on the replacement I could keep referring to it. 

 Above you can see one portion of the window being 'traced' as best as I could.  The old window was so brittle it broke with the slightest touch.
Here you can see the old screen window and the new one above it.  I am going to paint and seal the individual pieces before I sandwich the screen and install the new window.  


 You can see the way the screen window fits in the door.  There is a gap where foam rubber is applied to allow the window to seal when the hatch is pulled down.  I'm not terribly thrilled about the way the hatch is raised, but I haven't figured out a better system yet.  That might have to come from experimentation.

Tomorrow I'll seal and paint everything and try to get things installed.  After adding the foam insulation, the windows and doors should be water tight.