Showing posts with label doors. Show all posts

Saturday, July 27, 2013

Visual Journal: From Beginning to End and a Meditation on Window Making

I finally had the chance to complete a visual journal of the entire process of the restoration and renovation of the Carpe Diem.  What amazes me is that the whole process, from purchase to 'completion' took about six months.  However, of those six months, we only 'had' the Carpe Diem for three.  I drove to Tennessee to pick it up during spring break at the end of March and immediately began restoration.  I took hundreds of photos of the process and it was tough  weeding through those to find just the right ones.


The passenger side window before.


Driver side window before.

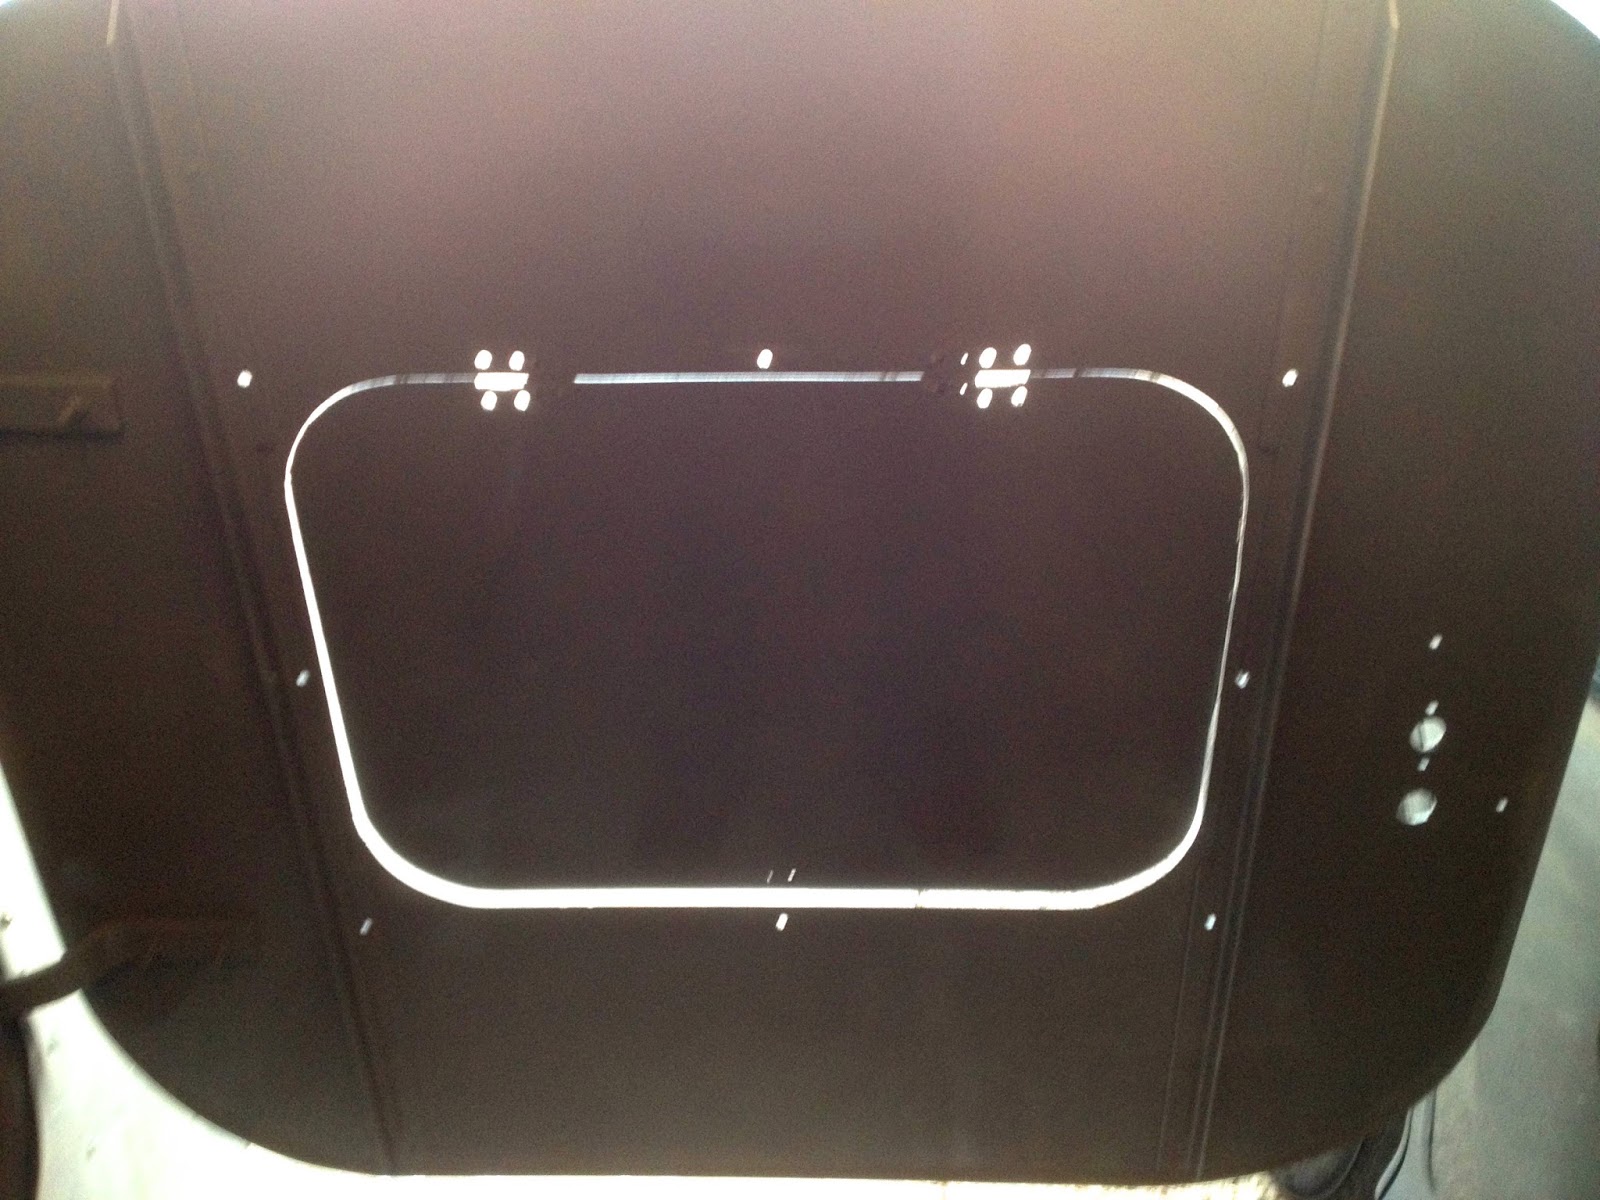
As is typical on most projects like this, I would take a step forward and three back.  For example, one of the projects I began after cleaning and sealing up the inside, was to rebuild the screen windows.


After cleaning and installing new hinge.
Inside of door.


The remains of the original screen portion of the window.

Cobbled together to make a template.

Replica above; original below.


Dry fit: inside.

Dry fit: outside.


Completed frames ready for screens.


After more than two days replicating the originals, decided to use these sliding windows.  In my defense, I hadn't been able to find a suitable window until I came across a window on, of all places, Pintrest!  A few days later, they were here and installed.  

With that, I give you the before, during and after video of my work on the Carpe Diem:


Carpe Diem Before and After from Todd Burleson on Vimeo.

Wednesday, June 12, 2013

Crazy Weather

Today was an interesting day.  Mostly cloudy, warnings of lots of bad weather, but so far only a teeny bit of rain.  I got a lot done today.

I built the slide out shelf for a laptop and/or to place iPhones or other I suppose even a fan, heater or whatever.  

Once I had figured out the dimensions of the shelf and how I was going to mount it, I needed to figure out how I was going to get the 12 volt power ports into the cabin.  I decided not to put them behind the slide out shelf because it would have been really hard to get to them.  Instead, I put them to the right of the shelf.


Here is the housing for the power ports.

Drawer slides in place and open.

Pull out shelf installed.

Open.


Power ports installed.

The next big project was to get all the cables cleaned up and organized.  This is the battery strap which holds the battery in its place.  


My simple on/off switch for the battery.  Simply twist it to the right to turn it on; twist it to the left to turn it off.


Everything tidied up and strapped down.  I installed the fire extinguisher too.


Doors and all hardware installed.


The galley is complete.  The only thing I need to do is install the sliders on the cooler slide out tray.  Still need to fix and install the reading lights again and install all the additional insulation.  Not too much more inside work left though.


Saturday, May 18, 2013

Finally, Some Progress I Can See!

My day started bright and early.  Went for a coffee and then dug right in.  Got the rest of the galley that had not been finished painted.


My second project was finding a way to mount the spare tire under the galley.  You can see the three bolts just in front of my drill.  I used rubber washers to hopefully keep any water from penetrating through the floor of the galley.


Three of the five bolts; should be plenty of support.


Next, I painted all the drawers and doors.  I started by painting them all blue.  I immediately regretted that decision.  I waited for them to dry and then painted them brown; which was my original plan.


The next project was to cut the hole for the Marinco power port entry.  I was very anxious about cutting the hole in the side of the wall.

There's the hole.  The problem I had to solve next was how to trim the wood on the inside so I could use the washer/nut that goes on the inside.  The walls were a little too thick.  I ended up using one of my sanding cylinders; that worked perfectly.

The port installed.


What it looked like from the inside.


Next project, install the gasket over the hinge. I taped it in place to get a feel for how large the gasket would be.


The sun was hot and it ended up helping me a lot because the gasket and the butyl tape heated up and made it easy to 'stick' in the right place.


I ended up adjusting the edges of the gasket a bit.  I bent the aluminum over the edge so that any rain would run off the drip edge.


I'm really happy with how this turned out.


Cabinets, drawers and doors, take two.


Not a good photo, but you can see how I mounted one of the four LED lights that will come on when the porch lights are lit.  Hopefully this will keep me from banging my shin into the corner at night.


Was able to install the galley light.  I really like that it is on a swivel.  That way you can aim it where you need it.


Was able to put in all the power receptacles and fixtures.  They are not connected yet; that's my big goal for tomorrow.


Close up of the spare tire mount.


The last major problem I solved today was one that had been causing me a lot of trouble.  I could not get the latch on the teardrop to connect.  I also could not figure out how to make the new handle work with the old fixture.  The first part, getting it to fit ended up being easy; I just bolted it in place.  The second part, getting it to work, not so much.  Because the latch is a blind connection (you can't see what's going on because the hatch is in the way) I could not figure out how to get the 'catch' to connect.  Then I had an idea:


I needed someone small enough to fit in the cooler slot so that when I closed the hatch they could see what was happening with the latch.  Jack just so happened to come out and ask if I needed any help.  Within twenty minutes, we had it fixed!  Now, the latch is installed and works perfectly!

As I mentioned before, tomorrow's goal is to get the electric completely done.  I'm going to go set my alarm.

Sunday, May 5, 2013

Galley Work

It continues to amaze me how 'little' two full days of work 'produces.'  Unlike a skilled cabinet maker, I've completely figured out my 'cabinets' as I've moved forward with this project.  I had a general idea of what I wanted it to look like; and then there was the reality of the profile of my teardrop.  The cooler was a large part of the design.  I wanted it to be easily accessible.  I wanted it to be able to be pulled out and accessed.  I also wanted a 'counter top' so that we could use it as a place to prepare meals, etc.


I used the butyl tape over the holes that were left when I removed the old galley.  I then screwed into these holes to anchor the wooden side panels.  So, I reused the holes with stainless steel screws.  The butyl tape was a bit of over-engineering, but I don't plan on being the last owner of this baby!


The angle and slope of the galley was really tight.  As you can see from the image above, the counter top is pretty narrow, but after experimenting a little, it does seem doable.


You can see in the image above that the stove fits perfectly in the area above the cooler.  I don't have a 5 gallon water bottle yet, but my hope is that it will fit, horizontally, next to the stove so that it can 'pour' into pots, etc.  I was using my Coleman lantern box as a stand in.  I have a few tweaks on the drawers.  I have great respect for cabinet makers.  I've made a few cabinets in my life, and always am humbled by the challenges they present.


The cooler clears the cabinet nicely and even the doors and drawers open when each other are open too!  That was just a happy accident!


Now that the cabinets and drawers are built, I'll take some time this week to paint, sand and paint them again.  In other cabinets I've built, I've 'dressed' up the doors with some edge trim and routed the edges.  I'll probably do that again, now that I know it all 'works.'

Left side open.  I'm not sure if I'll need to add any shelves here or if we'll use some sort of container/baskets to store stuff in here.  The right side will contain the battery, fuse panel, etc.


I plan on a couple of tweaks to the cooler area.  I think that the stove, water bottle and lantern will be able to be stowed like the first image above shows.  However, I'll need to create some sort of eye hook to hold a bungee cord which will hold them all in place while traveling.  I'll also need to put a latch on the cooler so that it does not come sliding out.  Another little happy 'accident' is that the small black latch in the center of the bumper is where the hatch will 'clasp.'  I used a small slide of plywood to mount the drawer slides that move the cooler in and out.  That was exactly the right amount of height that was needed to 'miss' the latch!  Lucky!

It really is hard to believe that I spent a whole weekend working on the Carpe Diem and this is 'all' I have to show for it.  It was a lot of miniscule progress, followed by several steps backward.  Nonetheless, things are looking pretty good.

Next up: electrical rough in.  I'm going to West Marine to switch the fuse panel from the four breaker system to the six.  I didn't realize that one of the breakers on the four was used to power the two DC outlets.  This would give me too few inputs.  Going with the larger panel will give me an extra circuit or two for future expansion.


I'm not sure how or where to place the circuit panel.  On the one hand, it could be stowed away under the counter on the right side.  On the other, I might want to be able to 'see' the lights for each circuit.  I'm not sure how important that is to me.  I'm going to need to research that a bit this week.  Another item that I need to research is how to 'charge' while driving.  I know it is pretty simple, but I need to integrate that into my system as I move forward.

I know I want to ready the electrical system for the future use of solar power too.  I explored several different 'makes' of panels, etc.  They all seem to have a very simple connector system.  I think I'm just going to have to decide on a system and then plan for the eventual connection before the teardrop is sealed up and insulated.